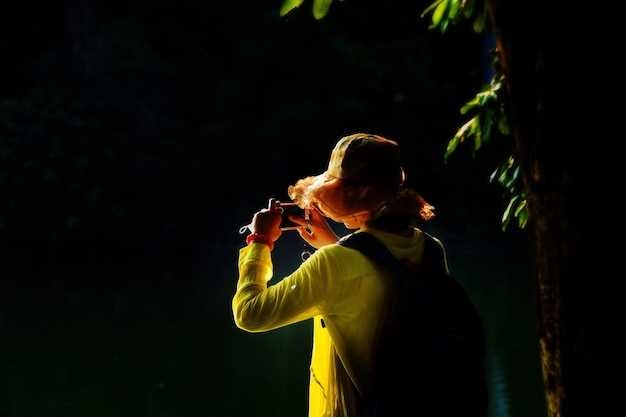
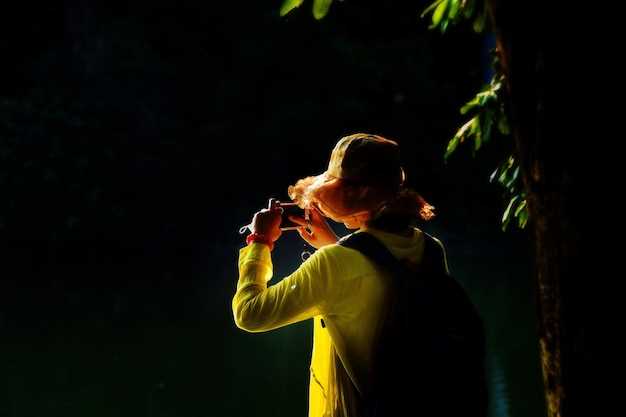
As the sun sets and darkness envelops the world, a whole new realm of artistic possibilities emerges. The challenge of capturing the essence of nocturnal scenes lies not only in the scarcity of light but also in the need to convey the ethereal beauty that unfolds under the moon’s gentle glow. In this guide, we delve into the secrets of skilled photographers who have mastered the art of capturing mesmerizing moments in dimly lit environments.
Unleashing the Power of Shadows: In the realm of night photography, shadows become your allies, adding depth and intrigue to your images. By skillfully manipulating the interplay between light and darkness, you can create a sense of mystery and drama that draws viewers into your composition. Embrace the enigmatic allure of silhouettes and experiment with the interplay of light and shadow to add a touch of magic to your nocturnal captures.
Mastering Long Exposures: One of the most powerful techniques in your nocturnal photography arsenal is the long exposure. By extending the duration of your shutter speed, you can transform mundane scenes into ethereal landscapes, where flowing water becomes a silky veil and passing headlights paint trails of vibrant colors. The key to mastering long exposures lies in finding the perfect balance between capturing enough light to illuminate your subject and avoiding overexposure. With practice and experimentation, you can harness the captivating potential of long exposures to create stunning nocturnal imagery.
Understanding the Importance of Light in Night Photography
When it comes to capturing breathtaking images in low light conditions, understanding the significance of light is paramount. Light plays a crucial role in night photography, as it not only illuminates the subject but also sets the mood and creates a captivating atmosphere. Without proper understanding and utilization of light, even the most skilled photographers may struggle to achieve stunning results.
The Role of Light in Night Photography
In night photography, light takes on a whole new level of importance. It becomes the primary tool for creating depth, contrast, and visual interest in the image. The way light interacts with the surroundings can dramatically impact the final outcome. Whether it’s the soft glow of streetlights casting long shadows or the vibrant colors of neon signs reflecting off wet pavement, light can transform an ordinary scene into something extraordinary.
Types of Light Sources
There are various sources of light that photographers can utilize in night photography. Natural sources, such as the moon and stars, can provide a soft and ethereal glow, while artificial sources like streetlights, car headlights, and neon signs can add a dynamic and vibrant feel to the image. Understanding the characteristics of different light sources and how they interact with the environment is essential for capturing stunning night photographs.
| Light Source | Characteristics |
|---|---|
| Moonlight | Soft, diffused, and creates a mystical atmosphere |
| Streetlights | Creates strong contrasts and interesting shadows |
| Neon Signs | Produces vibrant colors and adds a sense of energy |
By understanding the different qualities of light sources, photographers can strategically position themselves and their subjects to make the most of the available light. This knowledge allows them to create visually striking compositions and capture the essence of the scene.
In conclusion, light is a fundamental element in night photography that should not be underestimated. It has the power to transform an ordinary scene into a mesmerizing work of art. By understanding the importance of light and how it interacts with the surroundings, photographers can unlock the full potential of their night photography and capture stunning images that leave a lasting impression.
Choosing the Right Camera Settings for Challenging Lighting Conditions
When capturing photographs in dimly lit environments, it is crucial to select the appropriate camera settings to achieve optimal results. By understanding how to adjust your camera settings, you can overcome the challenges posed by low light conditions and capture stunning images that showcase the beauty of the scene.
One of the key factors to consider when shooting in low light is the ISO setting. ISO determines the sensitivity of your camera’s image sensor to light. In darker environments, it is advisable to increase the ISO to a higher value, allowing your camera to capture more light. However, be cautious not to set the ISO too high, as this can introduce unwanted noise or graininess to your images.
Another crucial setting to consider is the aperture, which controls the amount of light that enters the camera through the lens. In low light conditions, it is recommended to use a wider aperture (smaller f-number) to allow more light to reach the sensor. This will help you achieve a shallower depth of field, resulting in a beautifully blurred background and emphasizing the subject of your photograph.
Additionally, adjusting the shutter speed can greatly impact the outcome of your low light images. A longer shutter speed allows more light to be captured, but it also increases the risk of camera shake. To counteract this, consider using a tripod or other stabilization techniques to ensure sharpness in your photos. Alternatively, you can increase the ISO or widen the aperture to compensate for a shorter shutter speed.
Experimenting with different white balance settings can also enhance the overall mood and atmosphere of your low light photographs. While the auto white balance setting may work well in some situations, manually adjusting the white balance can help you achieve more accurate colors and create a specific ambiance in your images.
Lastly, it is essential to shoot in the appropriate file format. RAW files retain more information and allow for greater flexibility during post-processing, especially when dealing with challenging lighting conditions. By shooting in RAW, you can adjust the exposure, white balance, and other settings without sacrificing image quality.
- Consider increasing the ISO to capture more light
- Use a wider aperture to allow more light into the camera
- Adjust the shutter speed to control the amount of light captured
- Experiment with different white balance settings to enhance the mood
- Shoot in RAW format for greater flexibility in post-processing
By understanding and utilizing these camera settings, you can overcome the challenges of low light conditions and capture stunning photographs that truly showcase the beauty of the scene.
Mastering Long Exposure Techniques for Night Photography
Unlocking the secrets of capturing mesmerizing nocturnal scenes requires a deep understanding of long exposure techniques. By extending the duration of your camera’s exposure, you can create stunning images that showcase the ethereal beauty of the night. In this section, we will explore the art of mastering long exposure techniques for night photography, delving into the intricacies of capturing the magic that unfolds when darkness falls.
1. Embrace the Power of Time: Long exposure photography allows you to freeze time and capture the passage of moments in a single frame. By utilizing longer shutter speeds, you can transform the ordinary into the extraordinary, revealing the hidden details and subtle movements that are often overlooked in low light conditions.
2. Harness the Symphony of Light: In the absence of natural light, artificial sources become the conductor of your nocturnal symphony. Experiment with different light sources, such as street lamps, car headlights, or even handheld flashlights, to add depth and dimension to your images. Use these sources strategically to illuminate specific elements within your frame, creating a captivating interplay between light and darkness.
3. Emphasize Motion and Blur: Long exposure photography offers a unique opportunity to convey motion and blur in your images. Whether it’s capturing the streaking lights of passing cars or the gentle flow of a river, embracing movement can add a dynamic element to your night photographs. Experiment with different shutter speeds to achieve the desired level of motion blur, allowing your images to come alive with a sense of energy and vitality.
4. Mastering the Art of Stability: Achieving sharp and crisp images in low light conditions requires a steady hand or the use of a tripod. Even the slightest camera shake can result in unwanted blurriness. Invest in a sturdy tripod and utilize remote shutter releases or self-timers to minimize any potential movement. This will ensure that your long exposure images are sharp and free from unwanted distractions.
5. Experiment with Different Subjects: While cityscapes and landscapes are popular subjects for long exposure night photography, don’t be afraid to explore beyond the obvious. Experiment with capturing the starry night sky, the mesmerizing trails of fireworks, or the serene beauty of a moonlit beach. By pushing the boundaries of your creativity, you can uncover unique and captivating compositions that will leave viewers in awe.
6. Post-Processing Magic: Long exposure images often benefit from post-processing techniques that enhance their visual impact. Experiment with adjusting contrast, saturation, and exposure levels to bring out the hidden details and amplify the mood of your photographs. Additionally, consider converting your images to black and white to emphasize the contrast and textures captured during long exposures.
By mastering the art of long exposure techniques for night photography, you can unlock a world of endless possibilities. Embrace the power of time, harness the symphony of light, and experiment with different subjects to capture stunning images that transport viewers into the enchanting realm of the night.
Utilizing Artificial Light Sources to Enhance Your Night Images
When it comes to capturing breathtaking photographs in low light conditions, the use of artificial light sources can greatly enhance the quality and visual appeal of your night images. By strategically incorporating various types of artificial lighting into your photography, you can create stunning effects, highlight specific subjects, and add depth and dimension to your nighttime shots.
1. Experiment with Different Light Sources
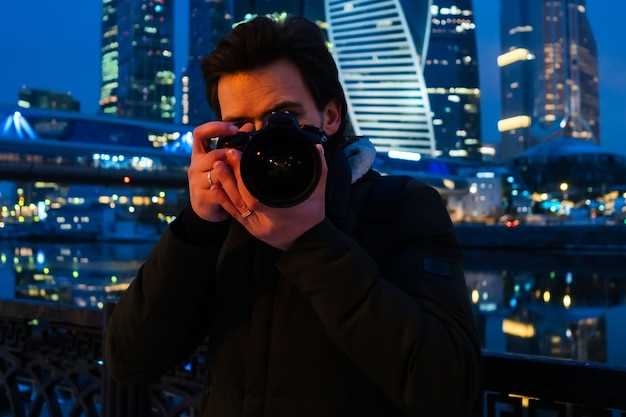
One of the key aspects of utilizing artificial light sources in night photography is to experiment with different types of lighting. This can include using handheld flashlights, LED panels, street lights, car headlights, or even light painting techniques. Each light source will produce a unique effect, so don’t be afraid to try out different options and see which ones work best for your desired outcome.
2. Understand the Importance of Light Direction
Understanding the direction of light is crucial when using artificial light sources in night photography. By positioning your light source at different angles, you can create interesting shadows, highlights, and textures in your images. Experiment with placing the light source behind your subject to create a silhouette effect, or try side lighting to add depth and drama to your composition.
- Experiment with different light angles
- Create shadows and highlights
- Add depth and drama to your composition
Remember to consider the overall mood and atmosphere you want to convey in your night images. Soft, diffused lighting can create a dreamy and romantic feel, while harsh, direct lighting can evoke a sense of mystery and intrigue.
By utilizing artificial light sources effectively, you can take your night photography to the next level and capture stunning images that showcase the beauty of low light conditions. So, grab your camera, experiment with different light sources, and let your creativity shine in the darkness!
Exploring Creative Composition Techniques for Night Photography
When capturing images in low light conditions, it is essential to not only focus on technical aspects but also to explore creative composition techniques. By experimenting with different approaches, angles, and perspectives, you can create visually stunning night photographs that stand out from the rest.
1. Embracing Negative Space
One way to add visual interest to your night photographs is by embracing negative space. Negative space refers to the empty areas in your composition, and by strategically incorporating it, you can create a sense of balance and emphasize the main subject. Experiment with placing your subject off-center and allowing the surrounding darkness to enhance its presence.
2. Leading Lines and Symmetry
Utilizing leading lines and symmetry can add a sense of depth and structure to your night photographs. Look for architectural elements, such as roads, bridges, or buildings, that can act as leading lines, guiding the viewer’s eye towards the main subject. Additionally, symmetrical compositions can create a visually pleasing and harmonious effect, especially when combined with the unique lighting conditions of the night.
- Experiment with different angles and perspectives to find the most compelling composition.
- Consider using reflections in water or glass to add an extra layer of interest to your night photographs.
- Play with the contrast between light and shadow to create a dramatic effect.
- Try incorporating natural elements, such as trees or stars, to add depth and context to your composition.
By exploring these creative composition techniques, you can elevate your night photography and capture images that not only showcase the low light conditions but also tell a compelling visual story. Remember to experiment, think outside the box, and let your creativity guide you in creating stunning night photographs.
Post-Processing Tips to Enhance Your Night Photos
After capturing your mesmerizing nocturnal shots, it’s time to take your night photos to the next level with some post-processing techniques. By applying these tips, you can elevate the visual impact of your images and bring out the hidden details and colors that may have been obscured by the darkness.
One essential post-processing technique for enhancing your night photos is adjusting the exposure. This allows you to fine-tune the brightness and contrast levels, ensuring that your subject stands out against the dark backdrop. By carefully balancing the exposure, you can create a captivating interplay between light and shadow, adding depth and dimension to your images.
Another powerful tool in your post-processing arsenal is noise reduction. Shooting in low light conditions often introduces unwanted noise or graininess to your photos. By utilizing noise reduction techniques, you can minimize these distractions and achieve a cleaner, more professional look. Be cautious not to overdo it, as excessive noise reduction can result in loss of detail.
Color correction is another crucial step in enhancing your night photos. The artificial lighting prevalent in nighttime scenes can cast different hues on your subjects, altering their true colors. By adjusting the white balance and selectively correcting color casts, you can restore the natural tones and create a more accurate representation of the scene.
Furthermore, sharpening your night photos can significantly enhance their overall clarity and detail. Due to the low light conditions, images captured at night may appear slightly soft or lacking in sharpness. By applying appropriate sharpening techniques, you can bring out the intricate textures and fine details, making your photos appear more crisp and defined.
Lastly, consider experimenting with creative effects during the post-processing stage. Night photography offers a unique opportunity to play with different artistic styles and moods. You can experiment with adding vignettes, adjusting saturation levels, or even applying selective blurring to create a dreamy or dramatic atmosphere that complements the nocturnal ambiance.
By employing these post-processing tips, you can transform your night photos into stunning visual masterpieces. Remember, post-processing is not about altering reality but rather enhancing the inherent beauty and capturing the essence of the nocturnal world.
